360 Turntable from Mac.Bid
In this video I will be trying out a turntable I bought for cheap. I will show you how you can take the images and create a rotating product video.
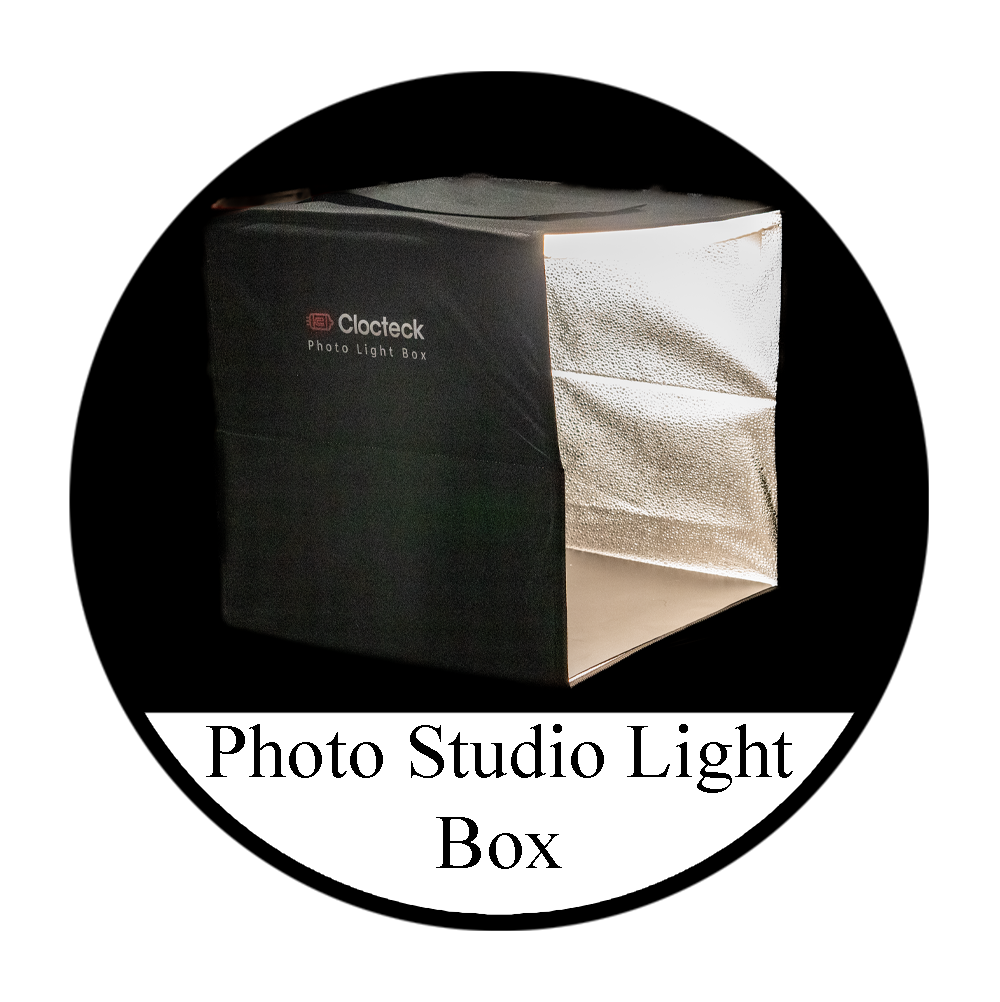
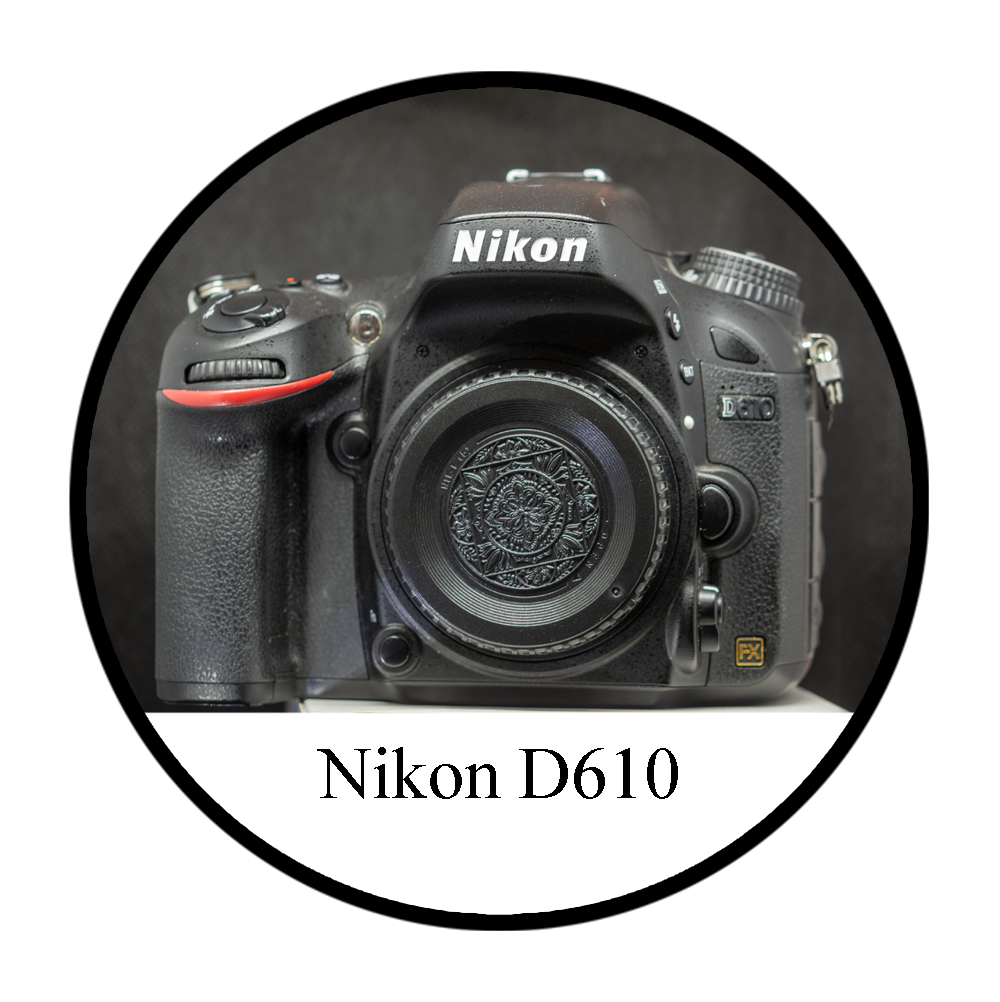
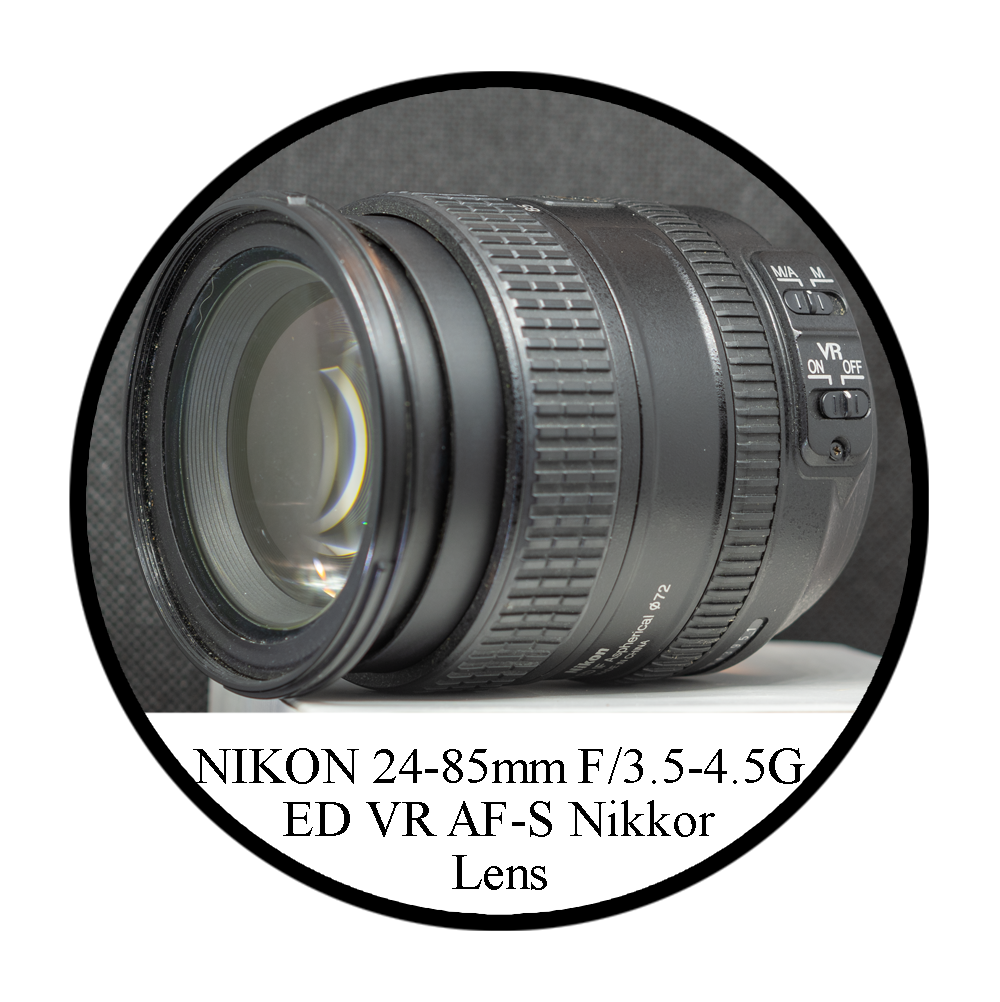
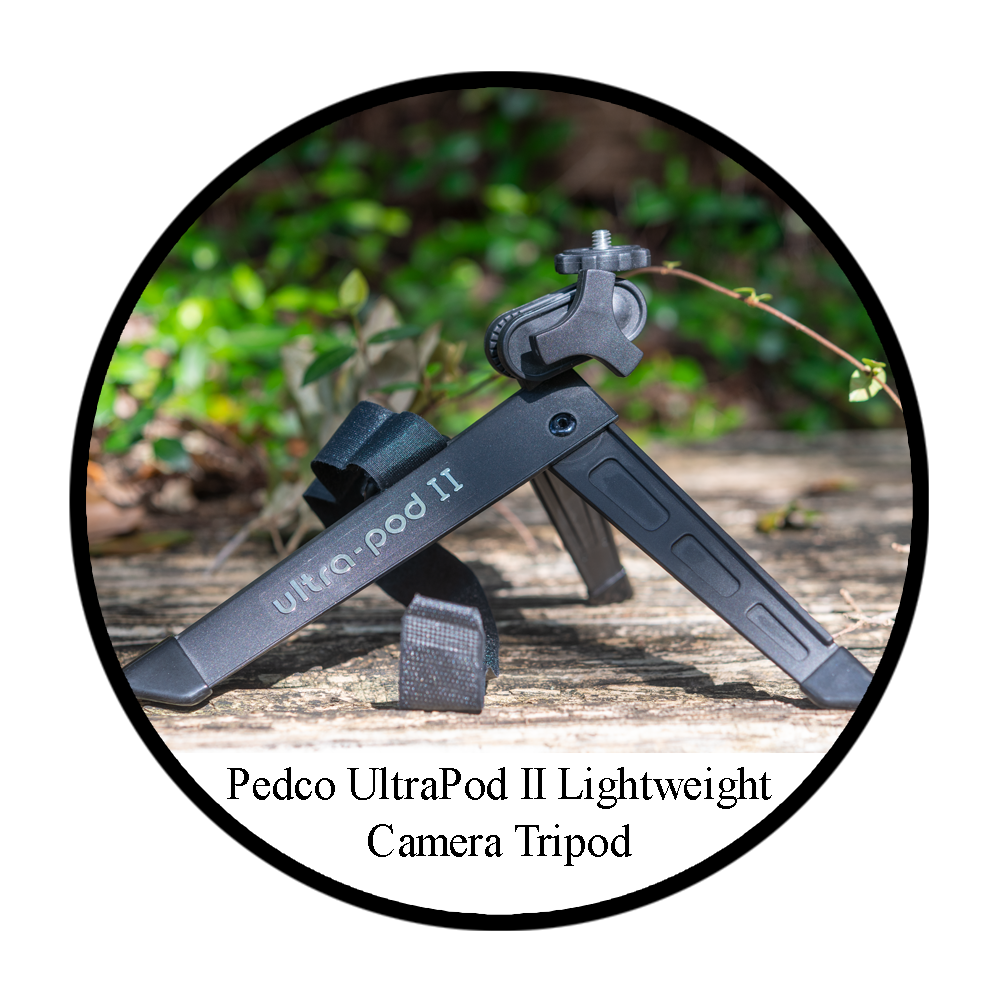
Tools used in this video


If you’re into photography and love experimenting with creative ways to showcase your work, a 360-degree turntable can be a game changer. In this article, we’ll explore how to use a 360 electric turntable for photography and guide you through the process of shooting, editing, and exporting a seamless rotating video.
Unboxing the 360 Turntable
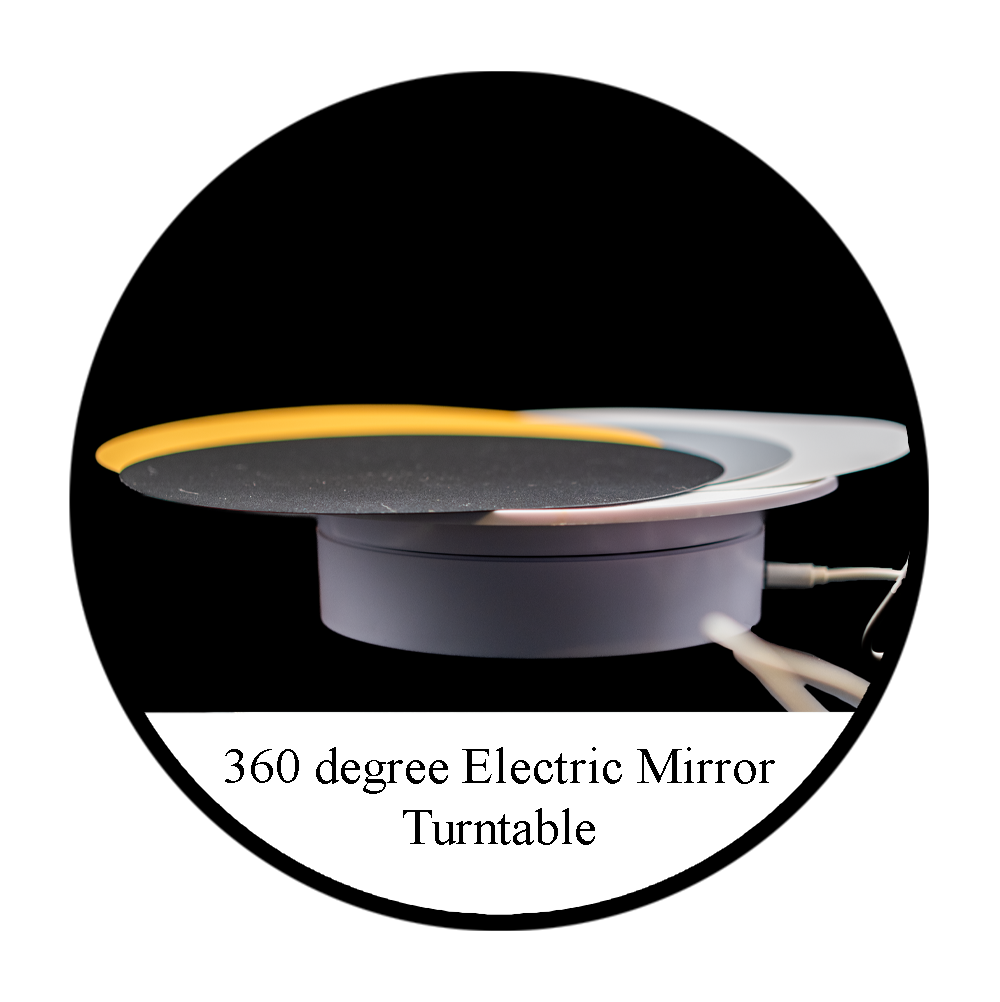
I recently purchased a 360-degree electric turntable for photography from Mac.Bid. These devices are also readily available on platforms like Amazon for around $24. The setup is straightforward: the turntable comes with a few components and a simple design, available with various colors to suit your preference.
Setting it up is easy. Once you’ve unboxed the turntable, connect it to power, place your object on top, and adjust the settings to control the rotation speed. In no time, you’ll have a rotating platform ready for your creative projects.
Setting Up Your Shot
For this demonstration, I used a DSLR camera with an aperture of f/4.5, creating a shallow depth of field to make the subject pop. Position your camera at the desired angle, ensuring the base of the turntable is level in the frame.
As the turntable rotates, snap continuous shots or record a video, depending on your preference. The key here is stability—using a tripod is highly recommended for consistent results.
Post-Processing the Images
After capturing the shots, transfer them to your computer and open them in Adobe Camera Raw or Lightroom for basic adjustments. Here's a step-by-step breakdown:
Straighten and Crop: Adjust the images to ensure the turntable’s base is level and properly aligned.
Edit and Synchronize: Apply consistent edits across all images for uniformity, such as brightness, contrast, and background masking. Synchronize the adjustments for a cohesive look.
Export as TIFFs: Save the edited images in a high-quality TIFF format to preserve details for the video editing phase.
Creating the Video
Now, let’s bring the images to life in a rotating video. I used Adobe Premiere Pro, but you can achieve similar results with Photoshop or other editing tools.
Import Images: Drag and drop the TIFF files into Premiere Pro and arrange them sequentially in a timeline.
Adjust Speed: Set the duration for each frame to create a smooth rotation. I nested the sequence to make additional speed adjustments, ensuring the rotation flows naturally.
Add Effects: For added flair, zoom in slightly or reverse the rotation for a dynamic effect.
Duplicate and Blend: To extend the rotation seamlessly, duplicate the sequence and align it perfectly with the previous one.
Export the Video: Once satisfied, export the final video with your preferred settings.
Final Touches and Tips
Clean the Background: Use masking or cloning tools during post-processing to eliminate distractions in the background.
Experiment with Lighting: Good lighting enhances the 360-degree effect and highlights your subject’s details.
Try Beta Features: Adobe Creative Cloud’s beta versions often include new tools that can elevate your editing experience.
The Result
The end product is a sleek, professional 360-degree video showcasing your subject from every angle. This technique is perfect for product photography, creative projects, or even social media content.
Happy shooting, and I’ll see you in the next tutorial!