Building a Computer
In this video I will build a new computer for editing.
Tools used in this video


Greetings, fellow photographers! Today, we embark on an exciting journey into the realm of computer building. While you may wonder what this has to do with photography, in today's digital age, a powerful computer is essential for efficient photo editing. For every hour spent capturing images, you'll invest two to three hours refining them on your computer.
The Case for Building Your Own:
You might ask, why build a computer when you can simply buy one off the shelf? The answer lies in customization and longevity. Pre-built computers often compromise on certain aspects, leaving you with a subpar experience. By assembling your own rig, you gain the flexibility to tailor it to your needs and upgrade individual components over time.
Selecting the Components:
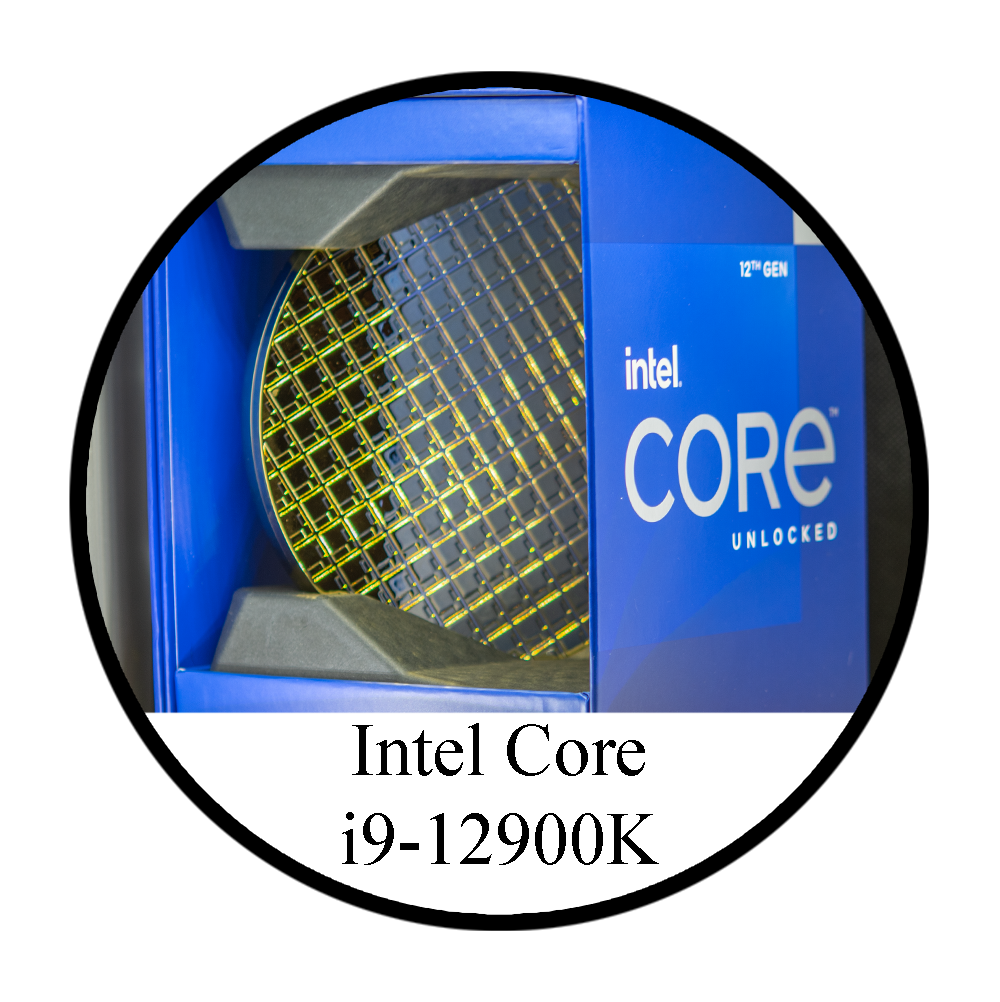
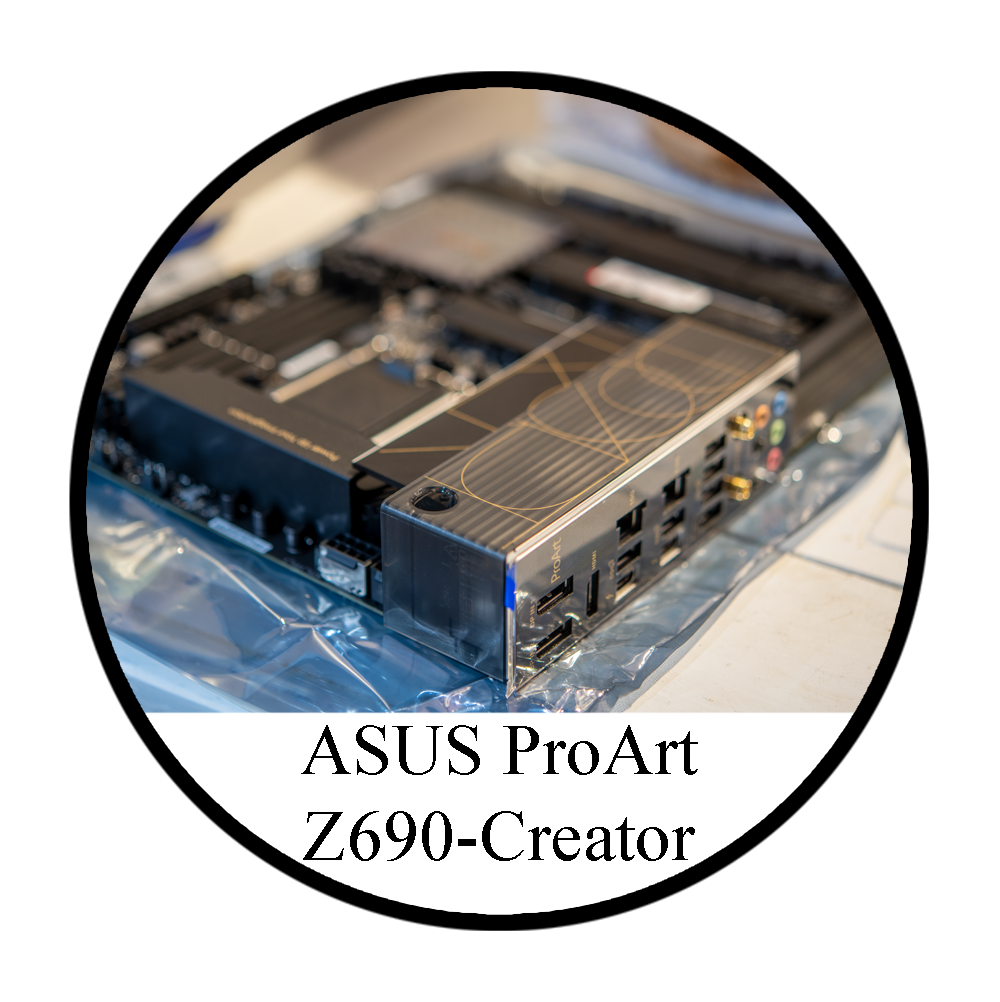
The heart of any computer build lies in its components. For processing power, I opted for the Intel i9 12th generation processor, renowned for its performance and reliability. Paired with a compatible motherboard, equipped with advanced features like a ten gigabyte LAN connection and support for DDR5 memory, this setup promises both speed and future-proofing.
Storage and Power Supply:
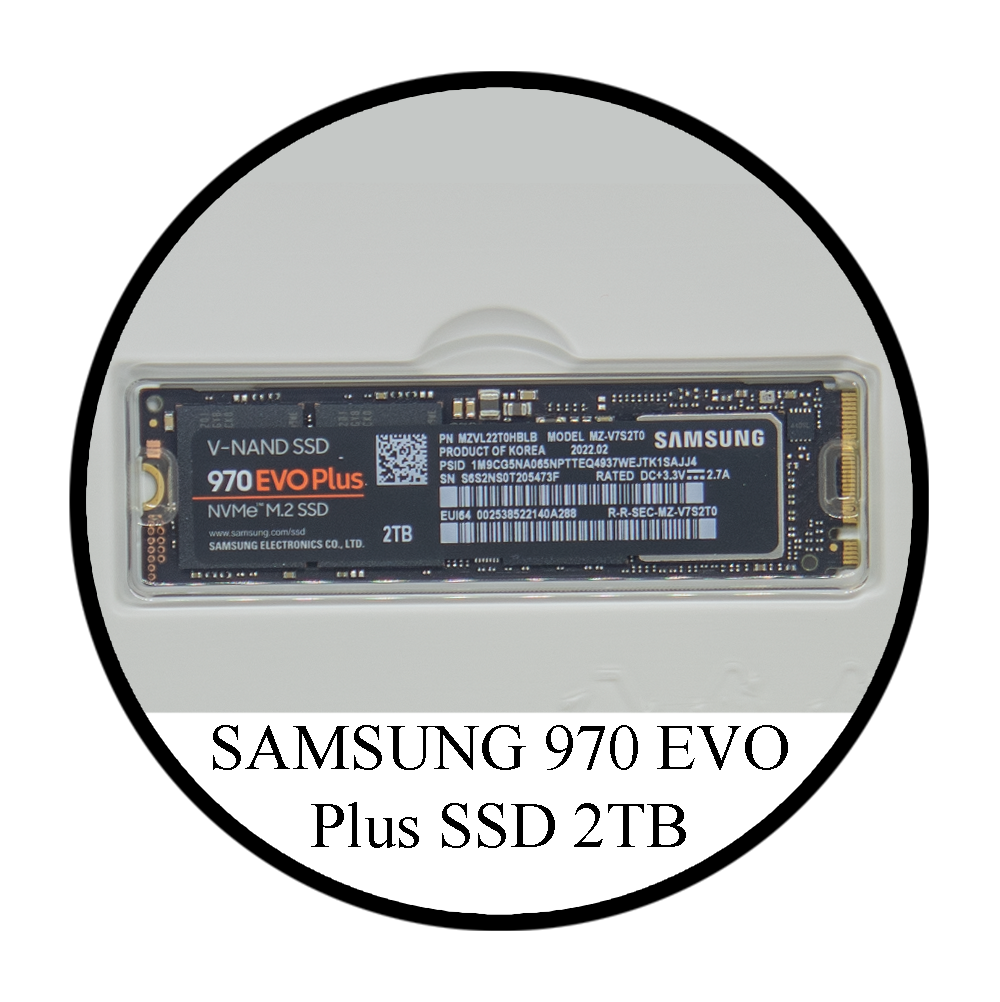
Efficient storage is crucial for smooth operation, which is why I chose a two-terabyte solid-state drive from Samsung to run my operating system and store essential files. To power this system, I selected a robust power supply unit with ample output, ensuring stability and longevity.
Case and Cooling:
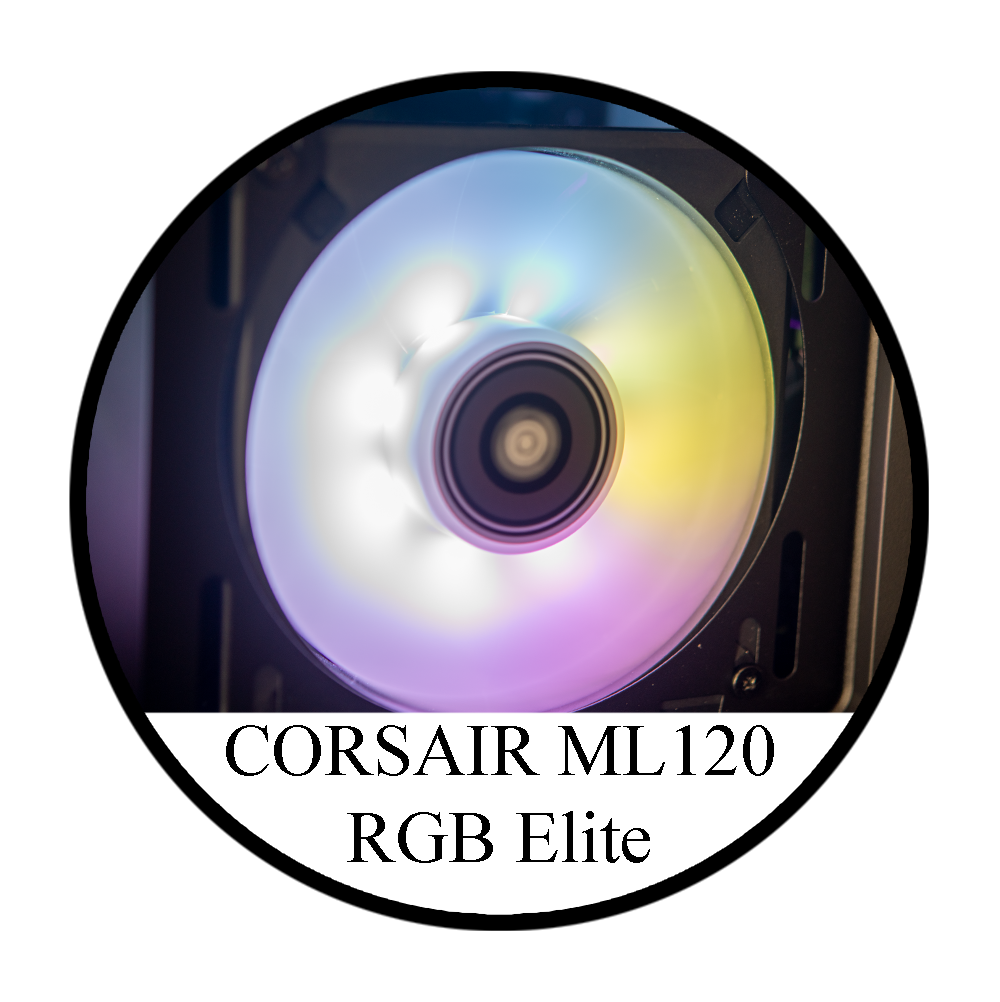
A well-ventilated case is essential to keep temperatures in check, especially during intense editing sessions. My case boasts multiple air vents and fans, with additional RGB fans for enhanced cooling and aesthetics. Proper airflow is key to maintaining optimal performance and longevity.
Finishing Touches:
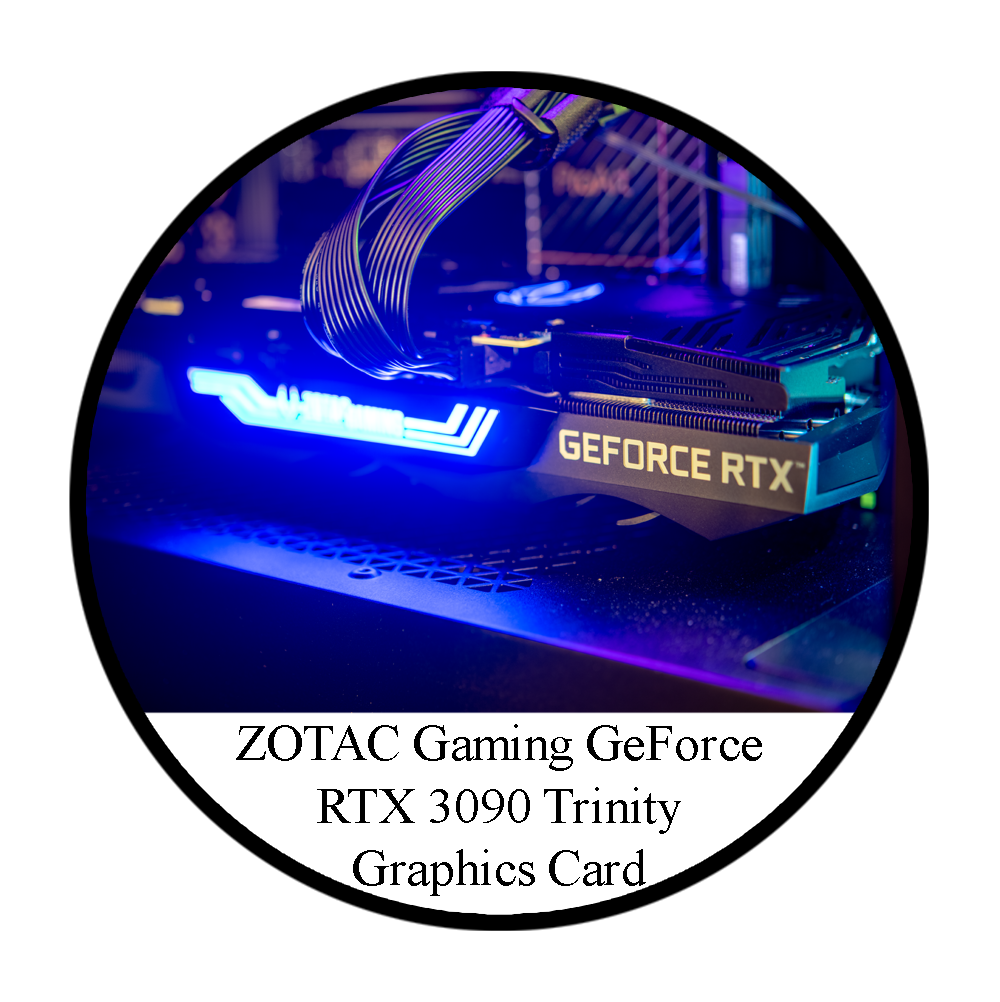
To streamline data transfer, I opted for an XKCD ESD card reader with USB 3.0 support, ensuring quick access to memory cards and peripherals. Additionally, I invested in a high-end graphics card, the Zotac Gaming GeForce RTX 3090, to handle demanding graphical tasks with ease.
Assembly and Testing:
With all components in hand, I embarked on the assembly process, carefully following each step to ensure a seamless build. After installing Windows Pro for Workstations and the necessary drivers, I put the system through its paces, testing its performance and stability.
Conclusion:
And there you have it—a high-performance photo editing computer built from scratch. While my approach may seem ambitious, rest assured that simpler configurations can suffice for most editing tasks. Whether you choose to build your own rig or opt for a pre-built solution, the key is to invest in a system that meets your needs and adapts to future challenges.
Final Thoughts:
I hope this guide has provided valuable insights into the process of building a photo editing powerhouse. Remember, the journey doesn't end here—stay curious, keep exploring, and never stop pushing the boundaries of your creativity. Until next time, happy editing, and may your photos shine brighter than ever before!