How to Find your Lens' Sweet Spot
In this video I will cover what your lens' "Sweet Spot"" is and how to find it."
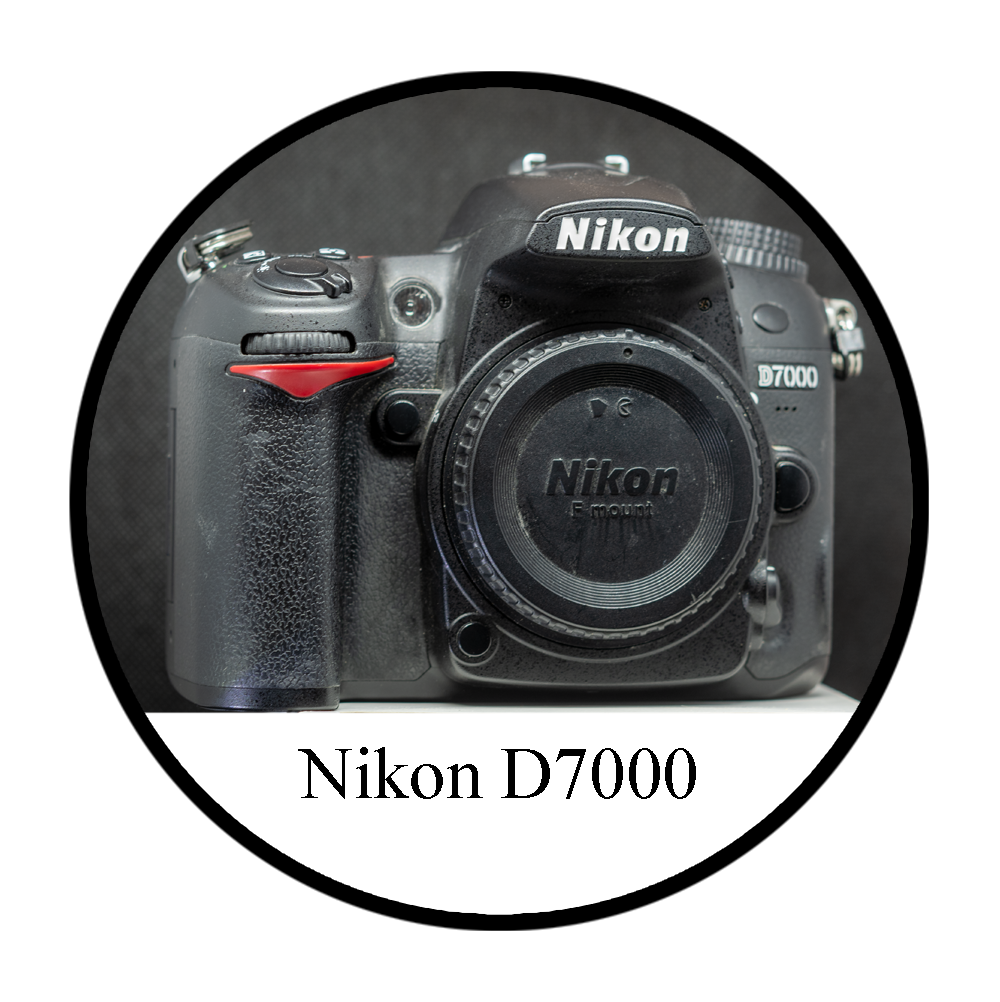
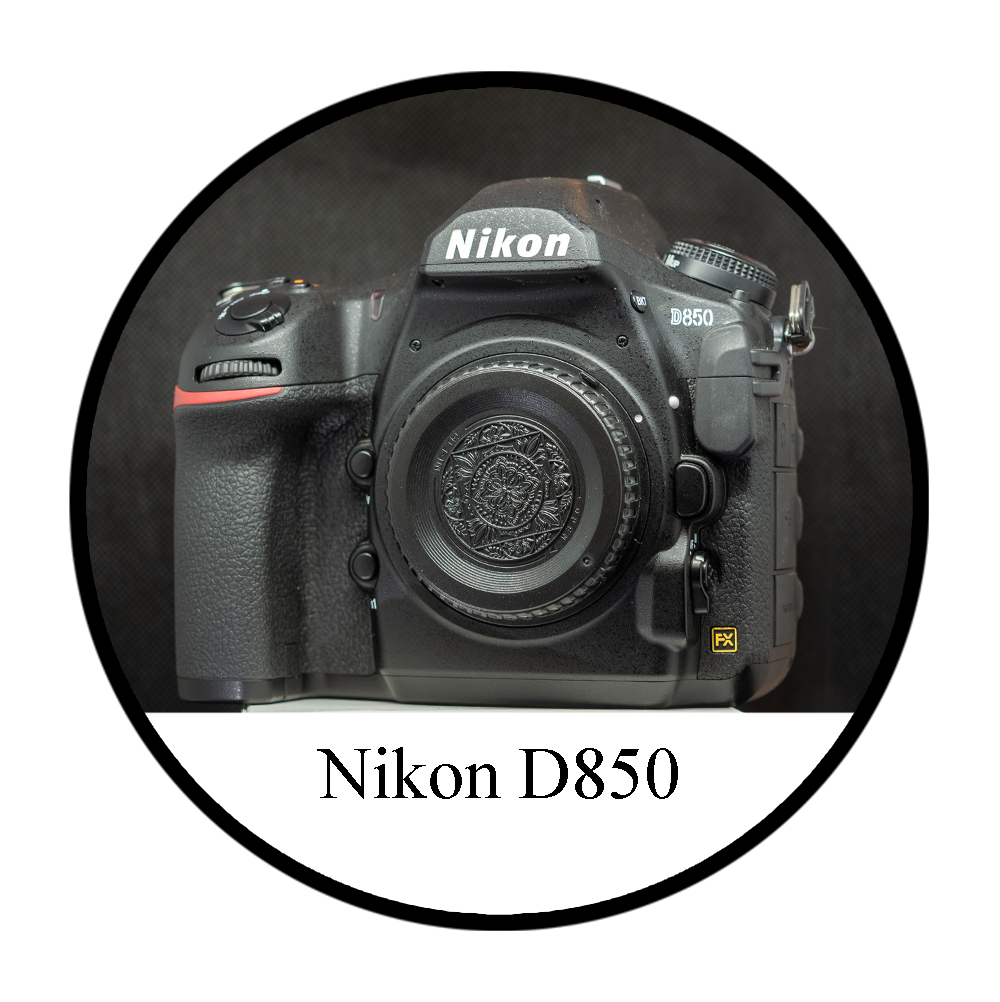
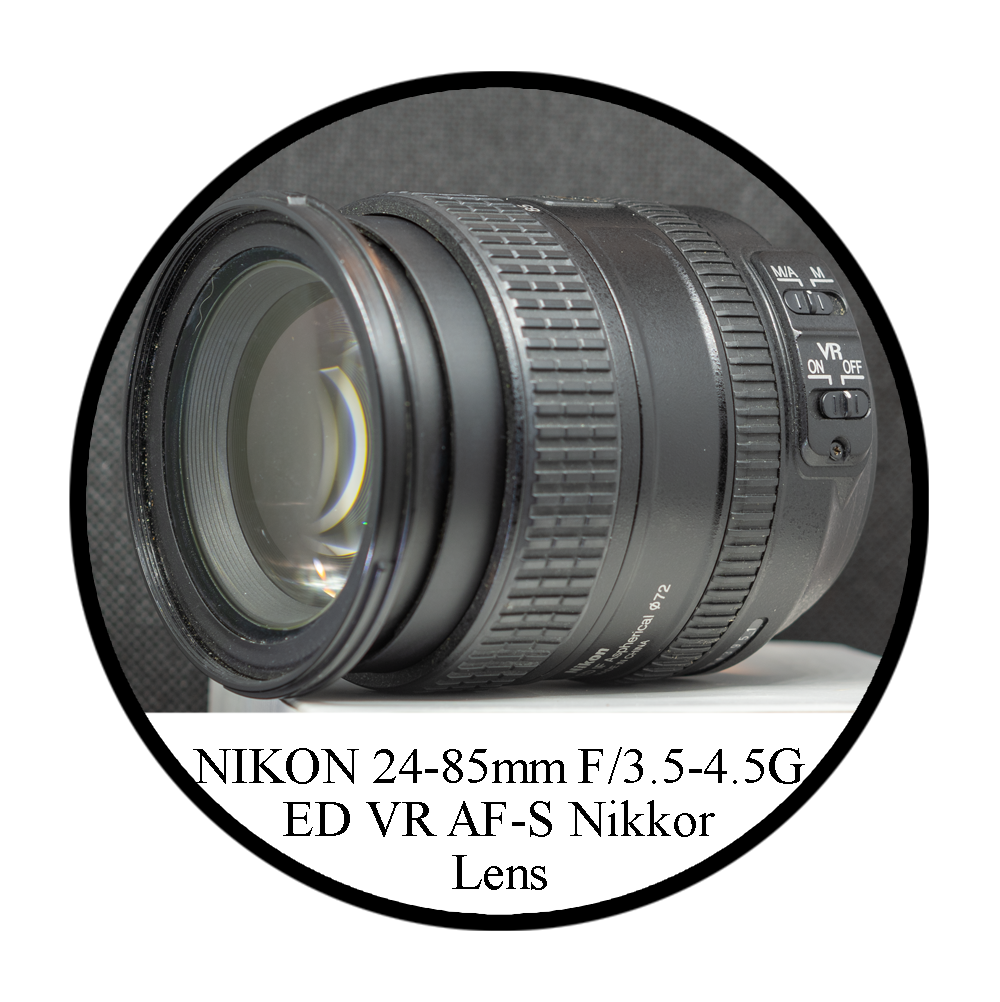
Tools used in this video


Greetings, fellow photographers! Today, we embark on a journey to uncover the elusive sweet spot of your camera lens, where sharpness reigns supreme. Join me as we delve into the intricacies of aperture settings and learn how to capture images with unparalleled clarity.
Understanding the Sweet Spot:
Defining the Concept: The sweet spot refers to the aperture setting of your lens that yields the sharpest possible image. Optimal Aperture Range: While commonly speculated to be 2 to 3 stops above wide open, discovering your lens's sweet spot requires precision rather than guesswork.
Identifying Chromatic Aberration:
The Pitfall of Wide Apertures: Wide-open apertures may introduce chromatic aberration, characterized by color fringing or dispersion around high-contrast edges.
Mitigating Chromatic Aberration: Correcting this distortion in post-processing is feasible but adds an unnecessary step. Prevention is key to achieving optimal image quality.
Understanding Lens Diffraction:
The Impact of Small Apertures: Lens diffraction occurs when narrow apertures cause light rays to bend around the aperture iris, resulting in softness and reduced sharpness.
Identifying Diffraction: Images captured at narrow apertures exhibit subtle softness and lack the crispness associated with the lens's sweet spot.
Finding Your Lens's Sweet Spot:
Setup and Preparation: Utilize a tripod or stable surface to eliminate camera shake. Focus on a subject with discernible lettering for precise evaluation.
Recommended Shooting Settings: Opt for aperture priority mode with the lowest ISO setting (typically 100). Begin at the widest aperture setting for your lens.
Methodical Testing: Incrementally adjust the aperture from widest to smallest, capturing images at each full F-stop. Refocus before each shot to ensure accuracy.
Managing Shutter Speed: As aperture narrows, monitor shutter speed to prevent camera shake. Utilize a timer function to minimize disturbances during exposure.
Analyzing Results:
Reviewing Captured Images: Transfer images to your computer and evaluate them at 100% magnification to discern subtle differences in sharpness and clarity.
Identifying the Sweet Spot: Notice the transition from chromatic aberration to diffraction, identifying the aperture range where sharpness peaks.
Iterative Testing: Fine-tune your findings by shooting at intermediate aperture settings, ensuring optimal sharpness while mitigating adverse effects.
Illustrative Example:
Case Study: Explore sample images captured at various aperture settings, showcasing the progressive refinement of image sharpness.
Visual Comparison: Examine side-by-side comparisons to discern the impact of aperture adjustments on image quality.
Interpreting Results: Gain insights into the nuanced interplay between aperture, chromatic aberration, and diffraction, guiding your quest for the sweet spot.
Conclusion:
As we conclude our exploration, armed with newfound knowledge, you possess the tools to unlock your lens's sweet spot and elevate your photography to new heights. Embrace experimentation, refine your technique, and revel in the pursuit of photographic excellence.
Parting Words: As you venture forth on your photographic journey, may your pursuit of the sweet spot be met with success and satisfaction. Remember to share your insights, questions, and discoveries, as we continue to learn and grow together. Until next time, happy shooting and stay inspired!