How to Take a Panoramic Picture
In this video I will show you how to shoot a panoramic photo, and how to edit it.
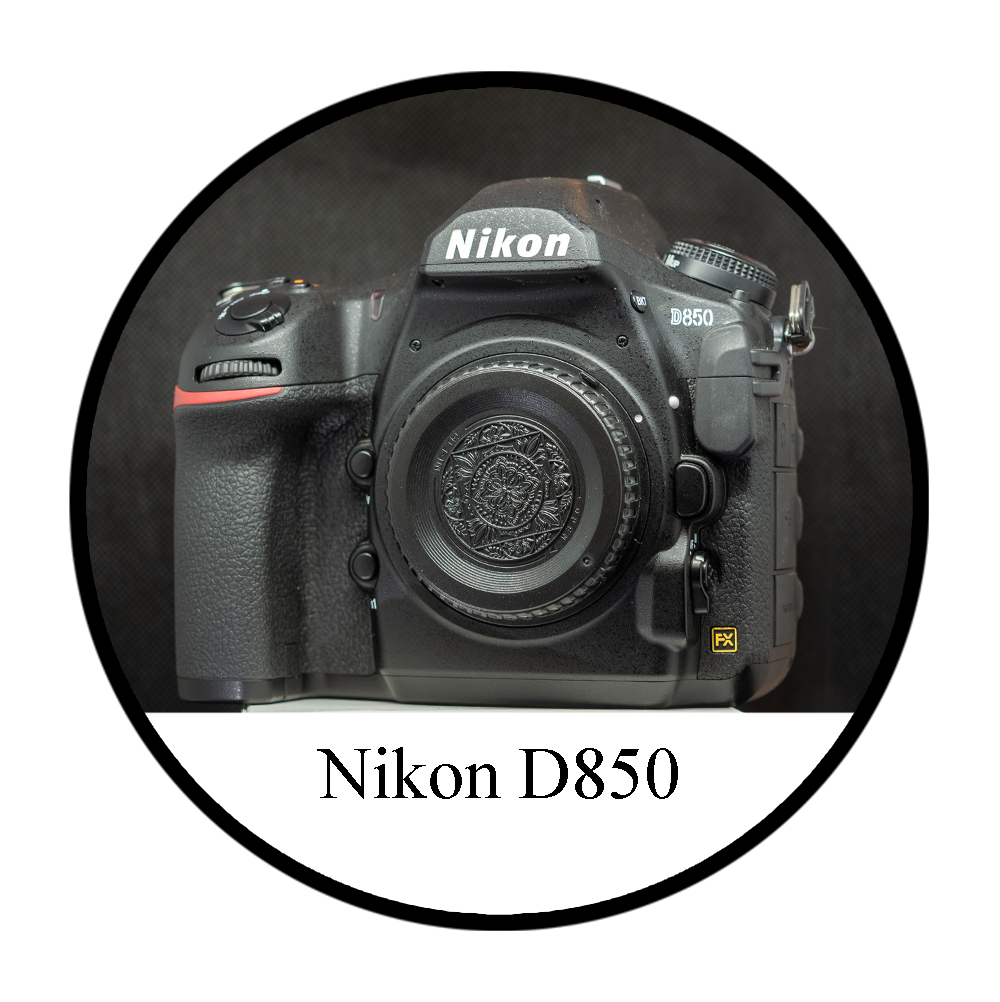
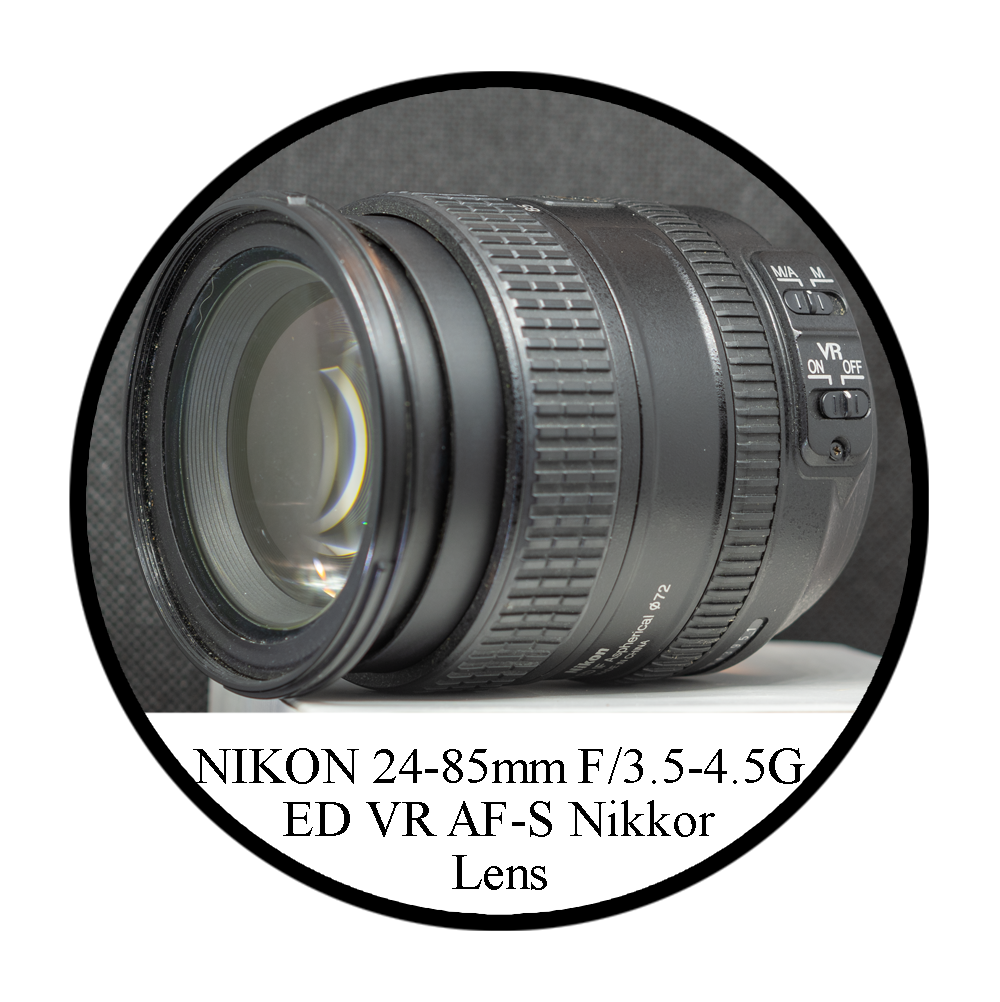
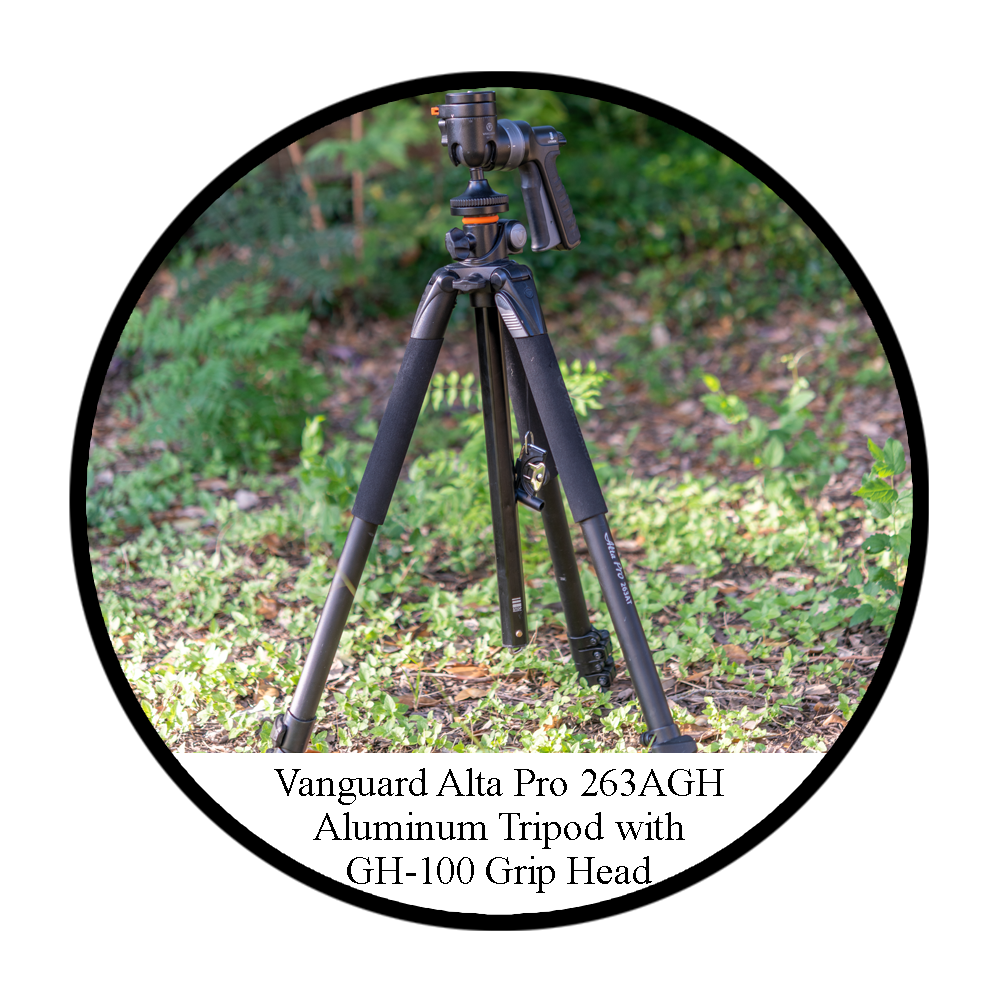
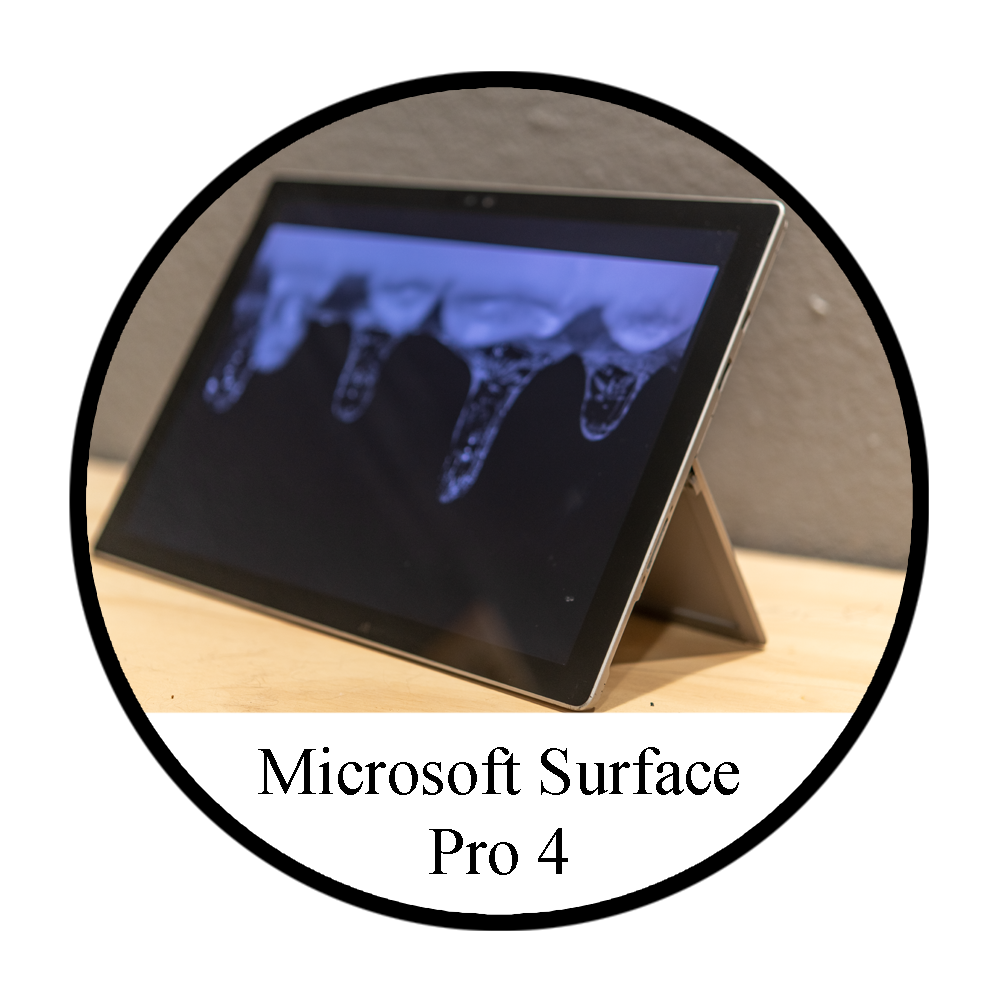
Tools used in this video


Greetings, fellow photographers! Today, we embark on a journey to master the art of panoramic photography. Imagine capturing the breathtaking landscapes, vast cityscapes, or majestic waterfalls in a single, sweeping image. Sounds intriguing, doesn't it? Well, fear not, for I'm here to guide you through the process, step by step.
Finding the Perfect Spot
Before we delve into the technicalities, let's talk about location. Picture this: I'm at Great Falls National Park in Virginia, a serene oasis teeming with natural beauty. Finding the right spot is crucial, so I've wandered away from the bustling waterfalls to ensure optimal audio quality for our tutorial.
Setting the Stage
Now, let's prepare our gear. I advocate for shooting in RAW format to retain maximum image data. As for camera settings, I opt for a wider aperture like f/4 to capture depth of field, set the ISO to 64 for crispness, and let the light meter determine the shutter speed, typically around a thousandth of a second.
Capturing the Moment
There are various techniques for capturing panoramic shots, but I'll demonstrate two primary methods: landscape and portrait orientation. Whether you're aiming for wide vistas or towering skylines, each approach offers its unique charm.
Landscape Mode: Sweeping Horizons
In landscape mode, we focus on the expansive vistas before us. With the camera set, we pivot smoothly from left to right, capturing the scene in segments. Don't forget to overlap each shot slightly for seamless stitching later.
Portrait Mode: Vertical Grandeur
Alternatively, portrait mode emphasizes height, ideal for capturing towering structures or cascading waterfalls. Again, we maintain focus on the subject and pan vertically, ensuring adequate overlap for cohesive merging.
Harnessing the Power of Tripods
For optimal results, consider using a tripod. This stabilizing tool ensures precision and minimizes distortion, particularly useful for intricate compositions. With a leveled tripod and steady hands, our panoramic shots exude professionalism.
Post-Processing Magic
With our panoramic shots secured, it's time to unleash the magic of post-processing. Whether you prefer Adobe Camera Raw or Photoshop, the goal remains consistent: harmonizing individual frames into a seamless masterpiece.
Adobe Camera Raw: A Panoramic Symphony
In Adobe Camera Raw, we merge our images effortlessly, fine-tuning parameters like exposure, white balance, and highlights. With meticulous adjustments, our panoramic vision springs to life, each detail accentuated with precision.
Photoshop: Crafting Visual Epics
Alternatively, Photoshop offers boundless creative possibilities. By blending layers and refining compositions, we sculpt panoramas that transcend reality, each pixel a testament to our artistic vision.
The Final Flourish
As our panoramic opus nears completion, we revel in the satisfaction of a job well done. Whether overlooking majestic landscapes or bustling cityscapes, our images encapsulate the essence of the moment, a timeless testament to our passion for photography.
Conclusion: Beyond the Horizon
As we conclude our panoramic odyssey, remember that photography is more than just capturing images—it's about storytelling, emotion, and imagination. So, armed with newfound knowledge, venture forth, explore uncharted vistas, and let your creativity soar. Until next time, fellow photographers, happy shooting!