Long Exposure Photography
In this video I will show you how to shoot long exposure photography.
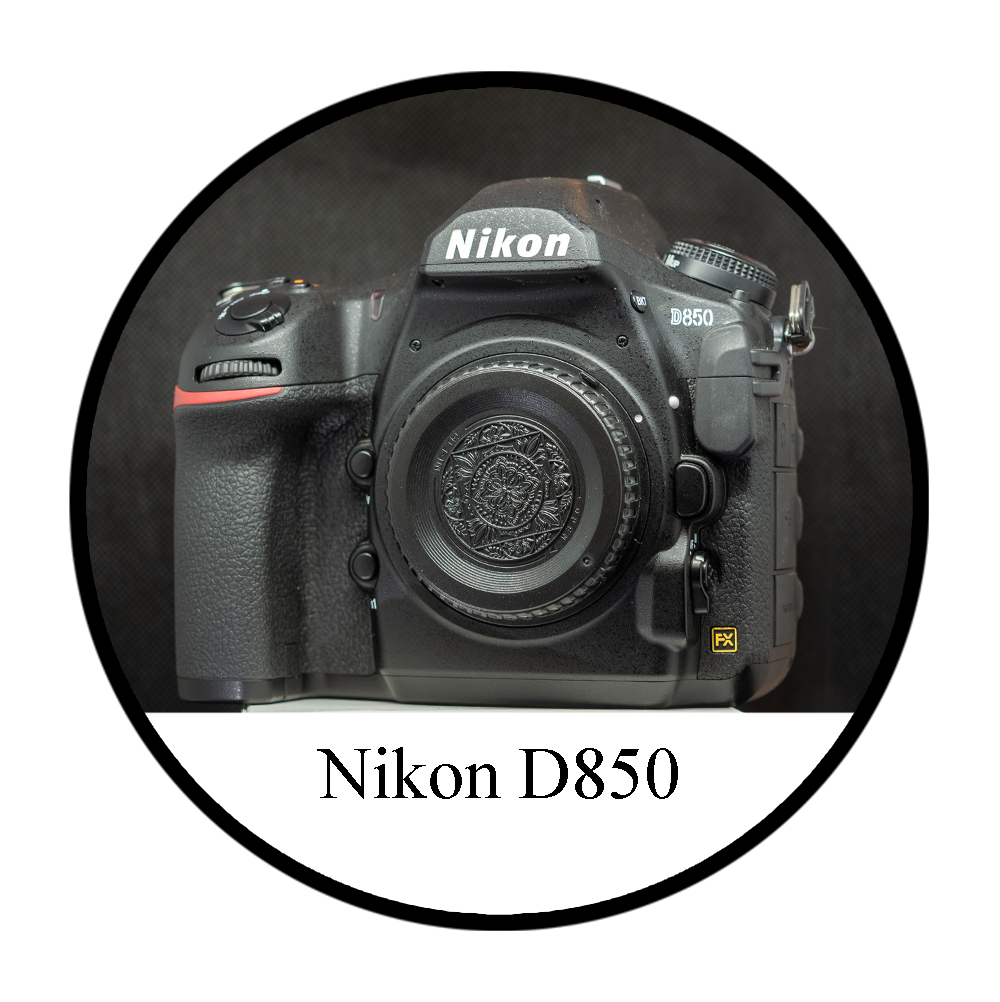
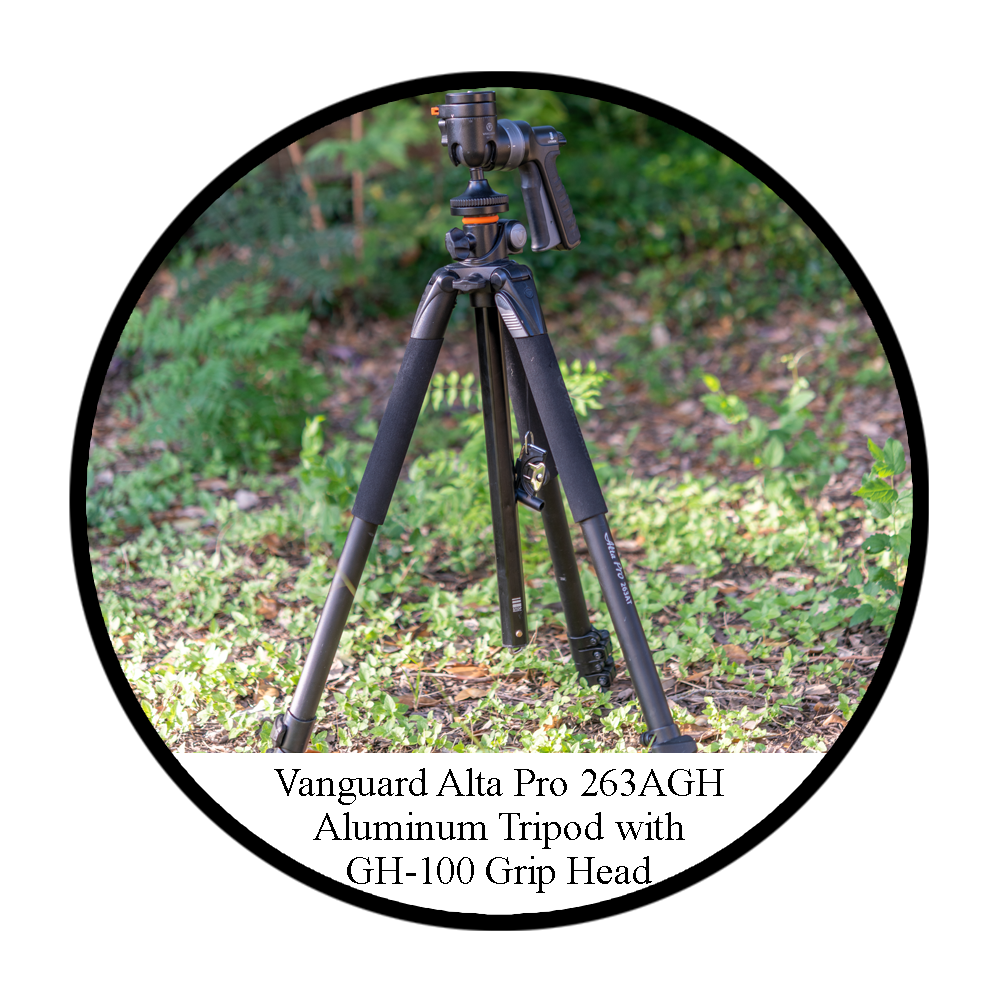
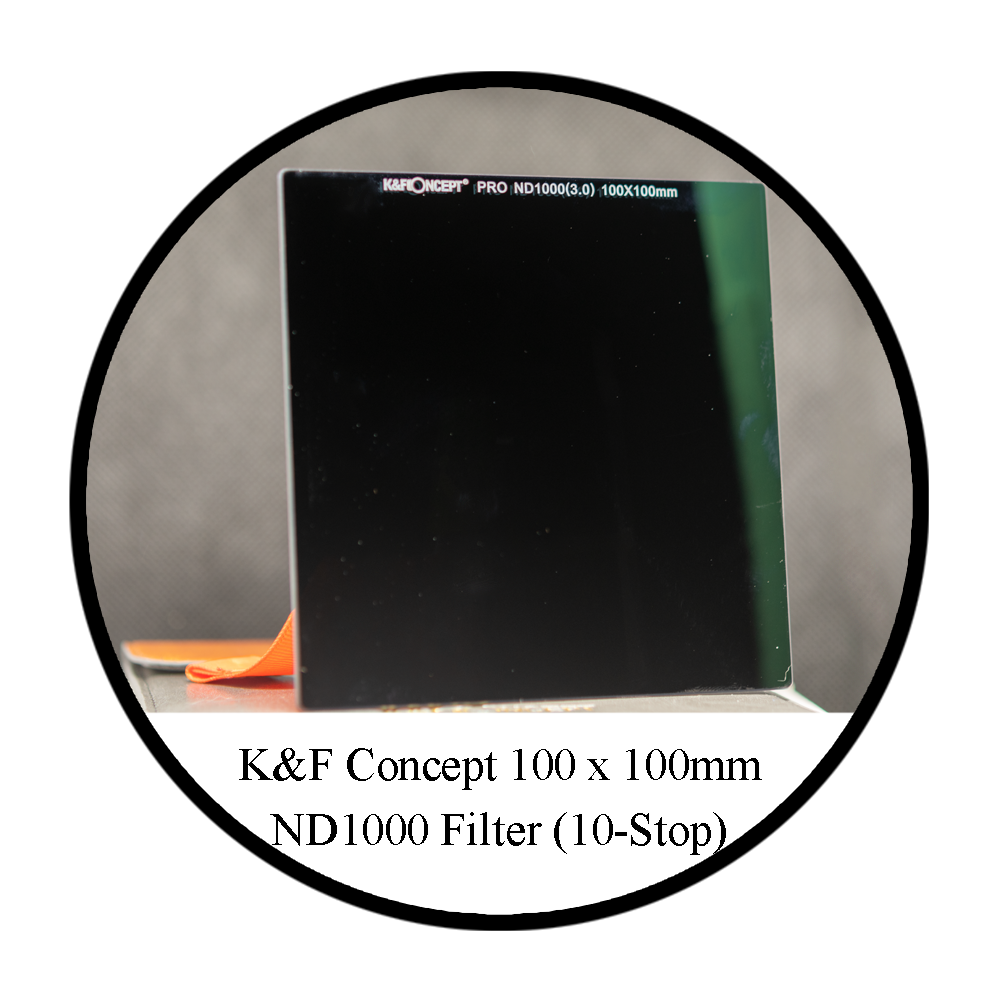
Tools used in this video


Hello, photography enthusiasts! Today, let's dive into the fascinating world of long exposure photography. Whether you're capturing waterfalls, star trails, or creating dreamy landscapes, mastering long exposure techniques can elevate your photography to new heights.
Understanding Long Exposure Photography
Long exposure photography involves using a slow shutter speed to capture stationary elements sharply while blurring or smoothing moving elements in the scene. This technique is particularly effective in creating dynamic and surreal effects, such as silky waterfalls or streaking clouds.
Practical Tips for Shooting Long Exposures
Choosing Your Settings
Aperture (f-stop): Start with a narrow aperture (higher f-stop like f/8 or higher) to reduce the amount of light entering the camera.
Shutter Speed: Use a slow shutter speed (usually several seconds or more) to allow enough time for light to reach the sensor.
ISO: Keep your ISO low (around 100-200) to maintain image quality and reduce noise.
Using Neutral Density Filters
Purpose: Neutral density (ND) filters are crucial for long exposure photography, as they reduce the amount of light entering the lens without affecting color.
Choosing the Right ND Filter: Experiment with different strengths (e.g., 6-stop, 10-stop) based on the lighting conditions to achieve the desired effect.
Focusing and Composition
Manual Focus: Switch your lens to manual focus mode to ensure sharpness on the key elements of your composition.
Composition: Take time to compose your shot, considering foreground elements that will be affected by the motion blur.
Case Study: Shooting a Waterfall
Let's walk through a practical example of shooting a waterfall using long exposure:
Initial Settings: Start with an aperture of f/2.8, a shutter speed of 30 seconds, and ISO 64. Despite using a 10-stop ND filter, the image remains overexposed.
Adjustments: Gradually reduce the shutter speed to 15 seconds and increase the aperture to f/8 to control exposure. Continue fine-tuning settings until achieving a balanced exposure.
Refining the Shot: Remove the ND filter briefly to adjust composition and manually focus on the desired area. Replace the ND filter and adjust settings (e.g., f/11, 20 seconds) to achieve optimal sharpness and exposure.
Final Results: Review the images on your camera’s LCD screen to ensure the desired effect of silky smooth water with sharp foreground elements.
Conclusion
Long exposure photography is both an art and a science, requiring patience, experimentation, and attention to detail. By mastering the use of shutter speed, aperture, and ND filters, you can unleash your creativity and capture stunning images that convey a sense of time and motion. So, grab your camera, venture into nature, and embrace the magic of long exposure photography. Happy shooting, and may your next adventure behind the lens be filled with unforgettable images!